
I want to try the community edition of Odoo freely
This post is for anyone who wants to try the community edition of Odoo on their own PC, freely and without much effort.
Everything described here can be tried at no cost, as long as you can put your hands on an ordinary PC that runs Windows 11. You need about 8GB of free space on it.
Several ways of trying Odoo out are introduced in the blog post below, so please have a look.
How to try Odoo and how to install it
Of those, this post explains the one that uses a Docker image on your PC.
The reason is that using Odoo in Japan means Odoo as it comes has gaps, so you need to install the OCA modules for Japan (which are free), and for that it is convenient either to run from source or to use a Docker image.
With Docker Desktop (also free), you can set up an environment for Odoo and the OCA modules on a Windows or Mac PC without difficulty.
This post explains it so that you can set an Odoo environment up easily by following the steps, without any detailed knowledge of Docker or Odoo.
1. Install Docker Desktop
Docker Desktop is a GUI application for developing, sharing and running containerised applications with Docker on Windows, Mac, Linux and other operating systems. What follows describes installing it on a Windows PC, but it runs on a Mac too.
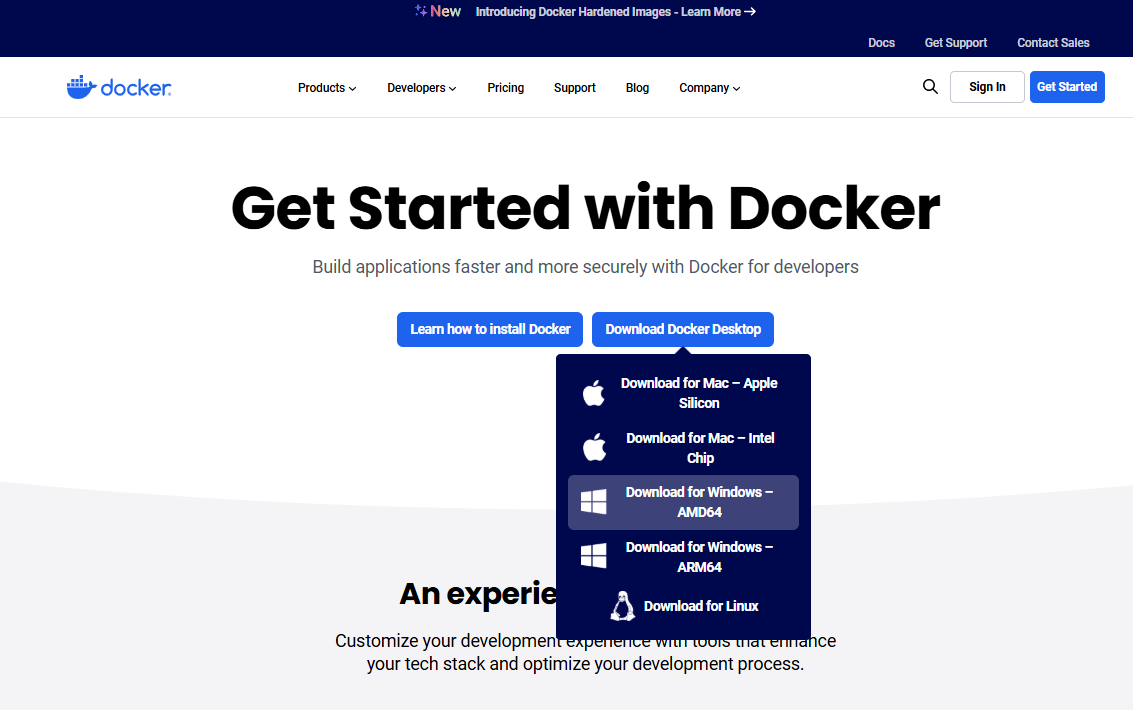
① From Docker's website https://www.docker.com/get-started/ download the program that installs Docker Desktop, the installer
② Double-click the downloaded file to start it, and answer Yes to the confirmation asking whether to allow the app to make changes to your device
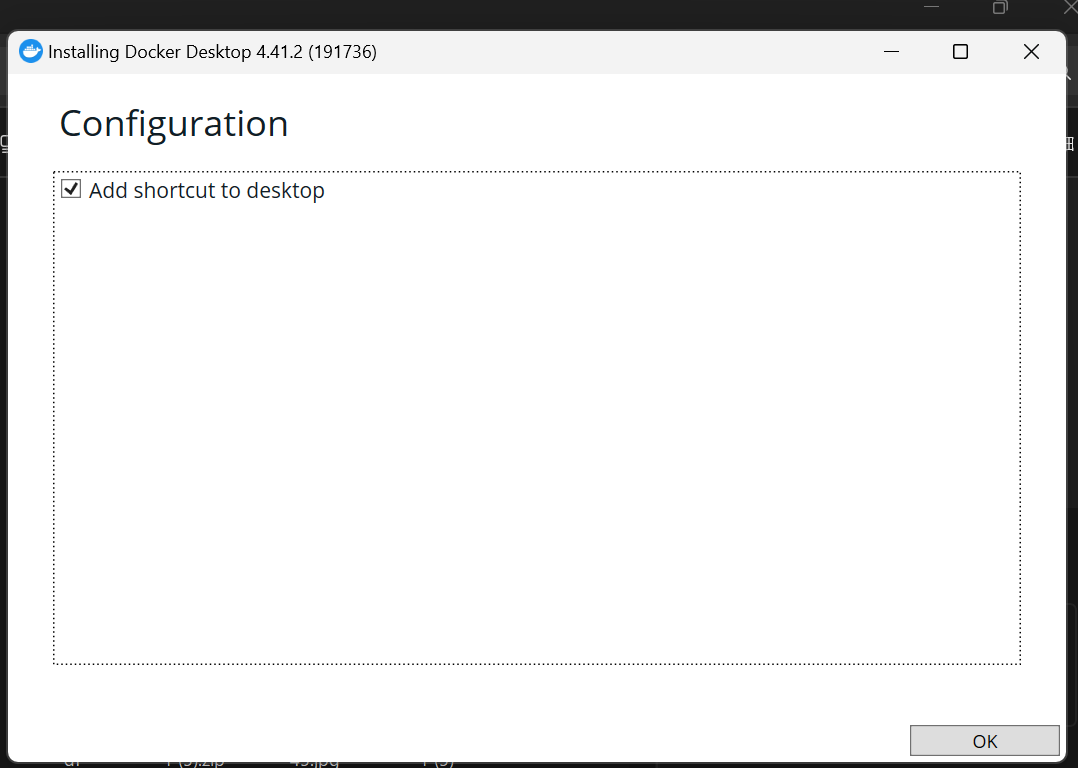
③ Choose whichever you like for "Add shortcut to desktop", then click "OK"
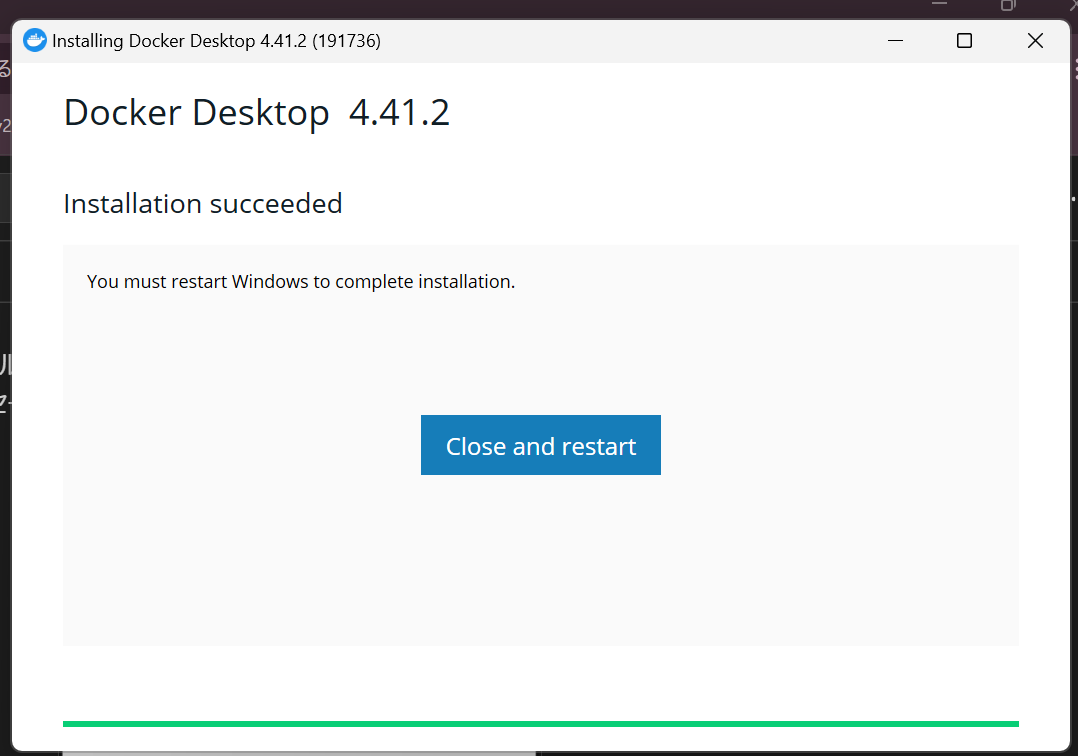
④ After you click "OK" it shows "Unpacking files…." for a while, then a message saying the installation succeeded. Click "Close and restart" to restart Windows
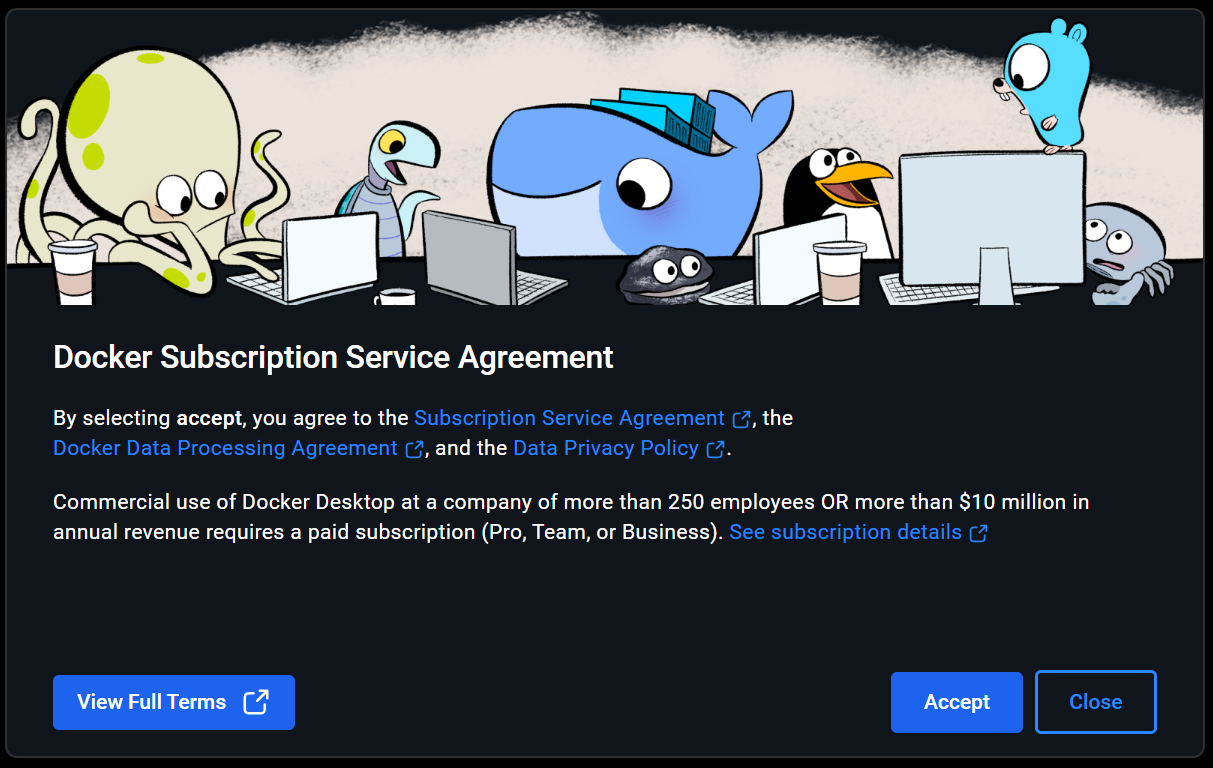
⑤ The first time Docker Desktop starts it shows a screen of terms and conditions, so read them and click "Accept"
⑥ Select "Use recommended settings" and click "Finish"
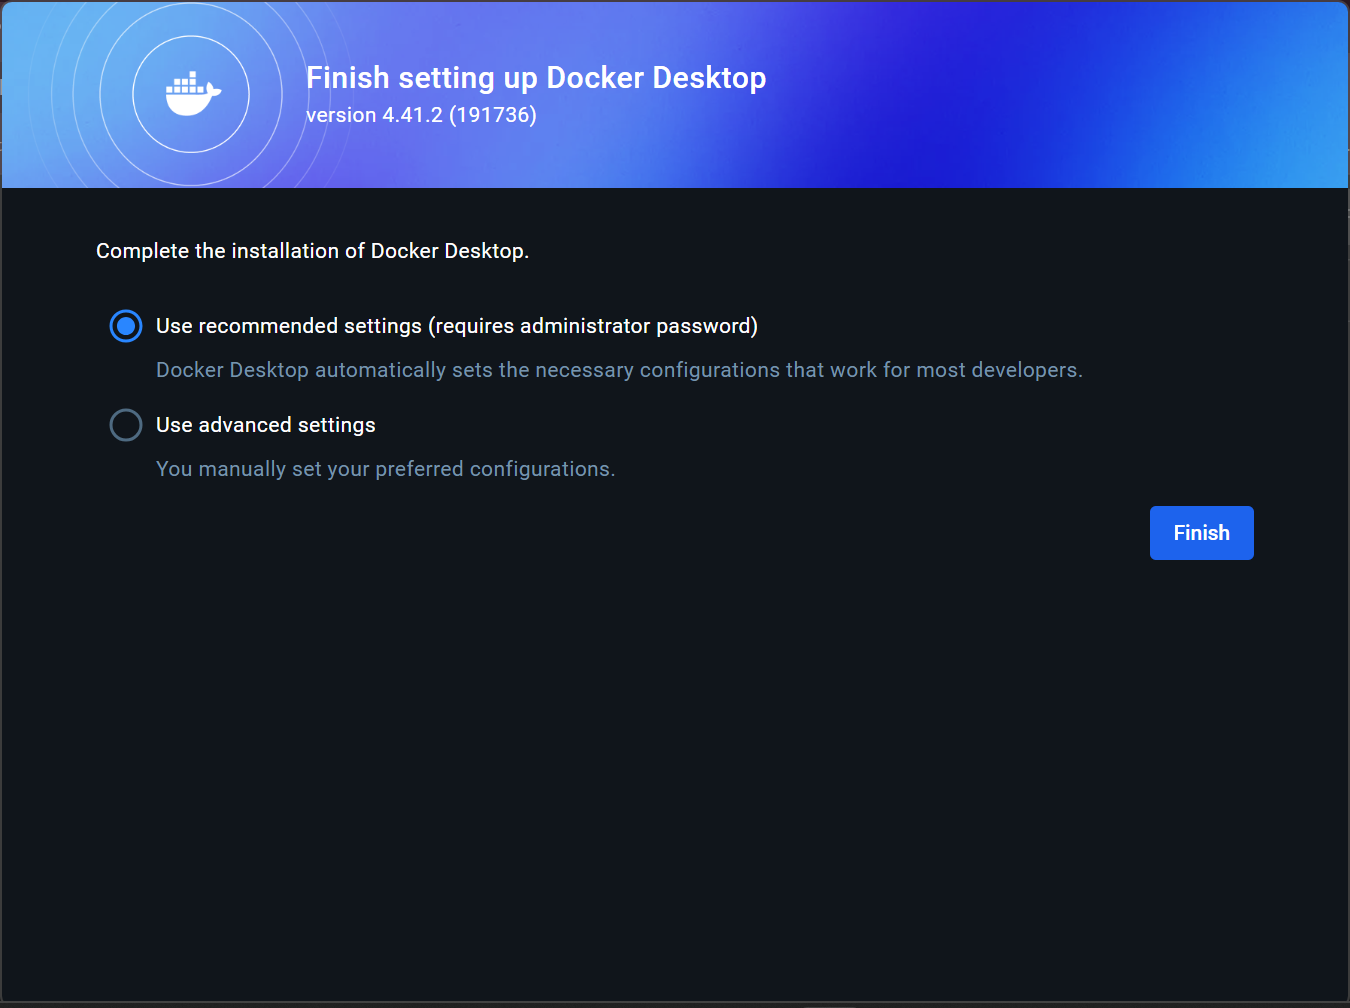
⑦ Answer Yes to the confirmation asking whether to allow the app to make changes to your device
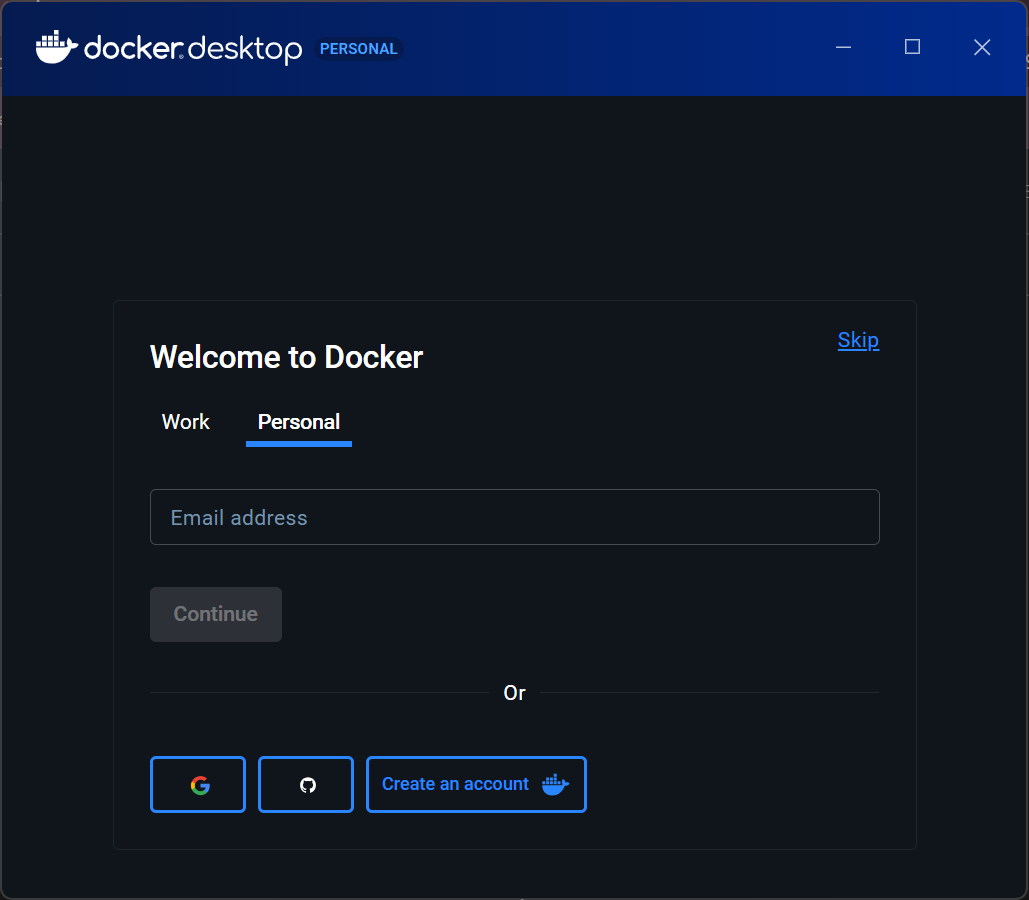
⑧ On the screen that asks you to register an email address, choose "Skip".
2. Start the containers from Odoo's Docker Compose file
① Create docker-compose.yml
https://hub.docker.com/_/odoo has a "Docker Compose examples" section; use it as a reference and write docker-compose.yml in Notepad, VSCode or whatever you prefer.
※ A sample docker-compose.yml file
services:
  web:
    image: odoo:16.0
    depends_on:
      - db
    ports:
      - "8069:8069"
    volumes:
      - odoo-web-data:/var/lib/odoo
      - ./addons:/mnt/extra-addons
  db:
    image: postgres:15
    environment:
      - POSTGRES_DB=postgres
      - POSTGRES_USER=odoo
      - POSTGRES_PASSWORD=odoo
      - PGDATA=/var/lib/postgresql/data/pgdata
    volumes:
      - odoo-db-data:/var/lib/postgresql/data/pgdata

volumes:
  odoo-web-data:
  odoo-db-data:
Key points:
- Odoo's version is set to 16.0 (16.0 is where most of the OCA modules for Japan are supported)
- /mnt/extra-addons is mounted so that the OCA modules can be used
※ It does not matter where you save docker-compose.yml, but what follows assumes an Odoo folder created directly under your user folder, with docker-compose.yml saved in it.
② Start a terminal (right-click the Windows Start button and click 「ターミナル(管理者)」, Terminal (Admin))
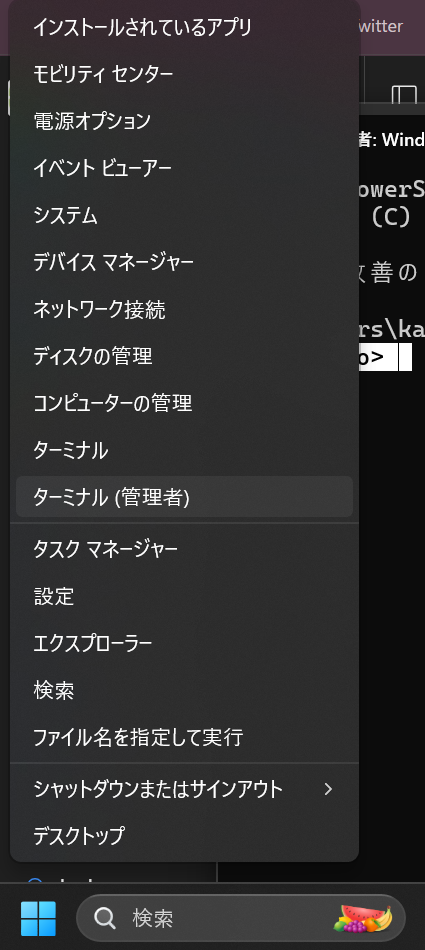
③ In the terminal, move to the folder where you saved docker-compose.yml
e.g. where docker-compose.yml was saved in an Odoo folder directly under the user folder
cd ~/odoo④ In the terminal, create and run the containers
docker compose up -d⑤ Click 「キャンセル」 (Cancel) on the security confirmation screen.
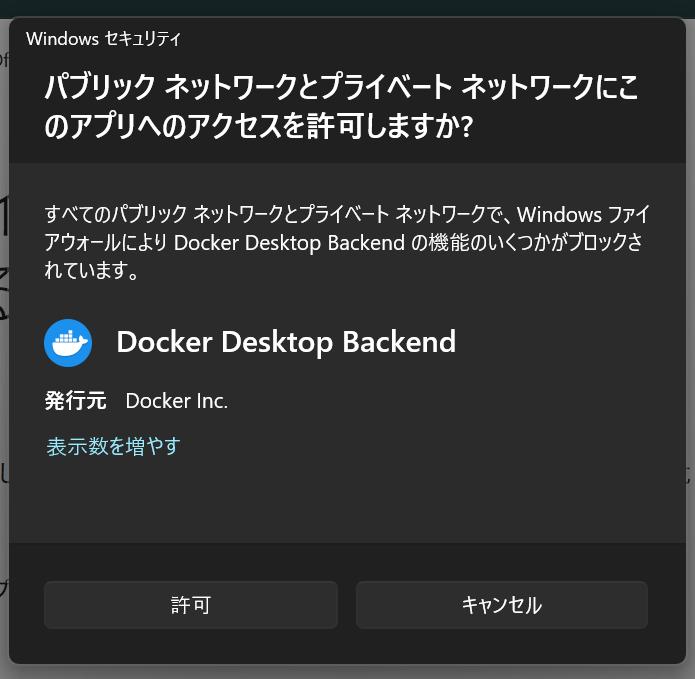
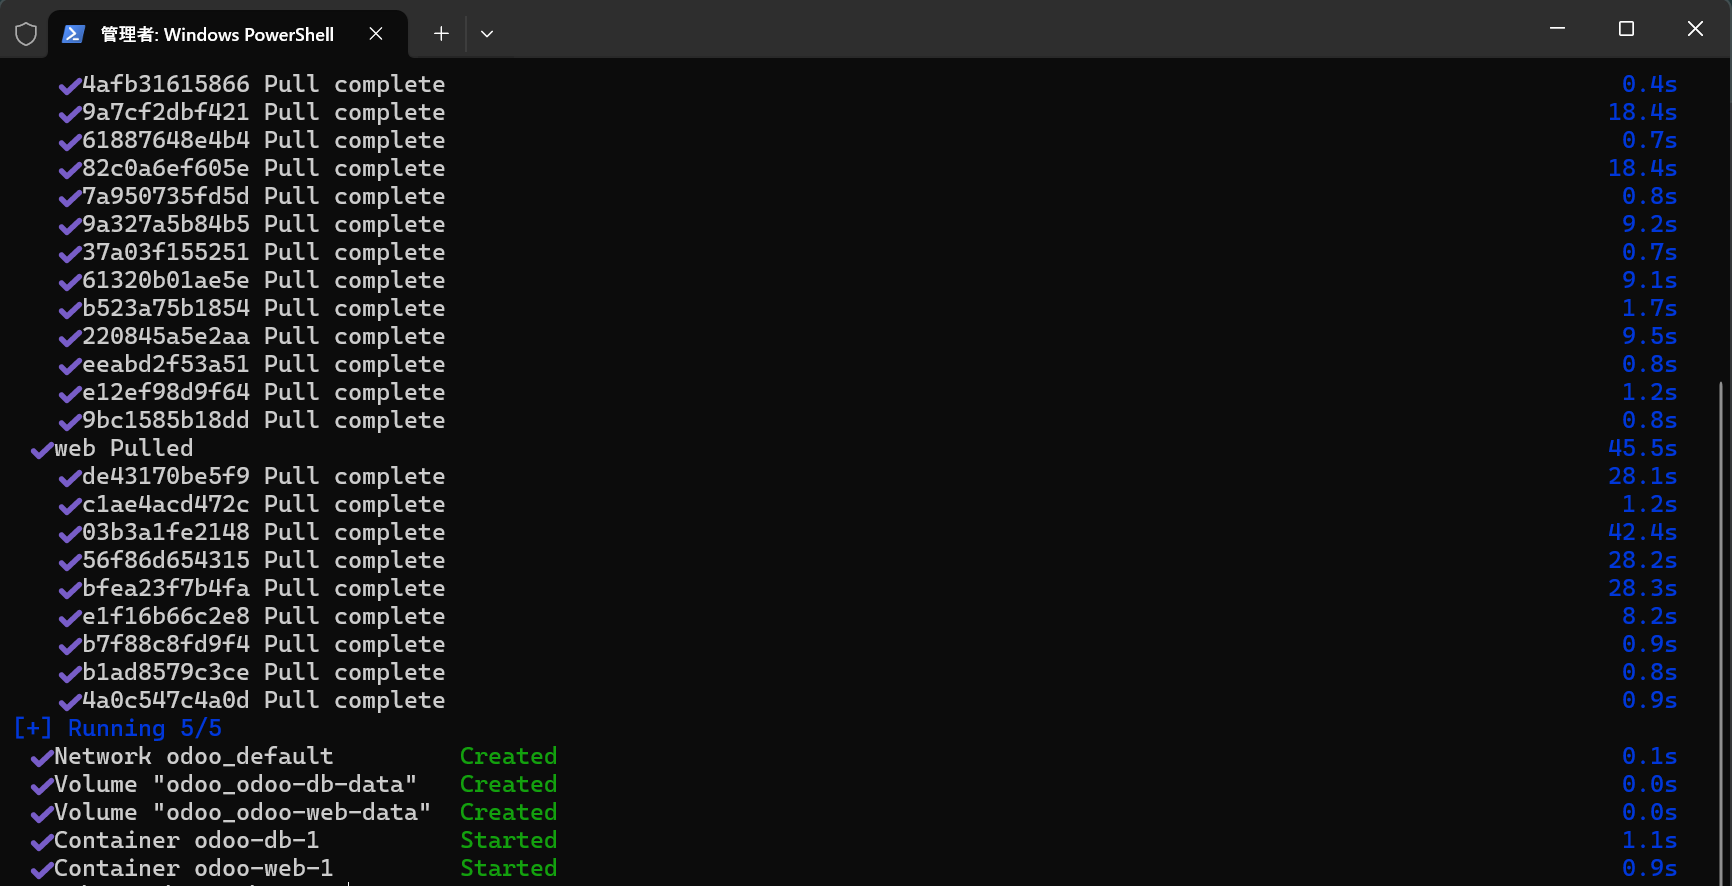
After a short wait, the Odoo container starts.
⑥ Start Docker Desktop and check the state of the containers.
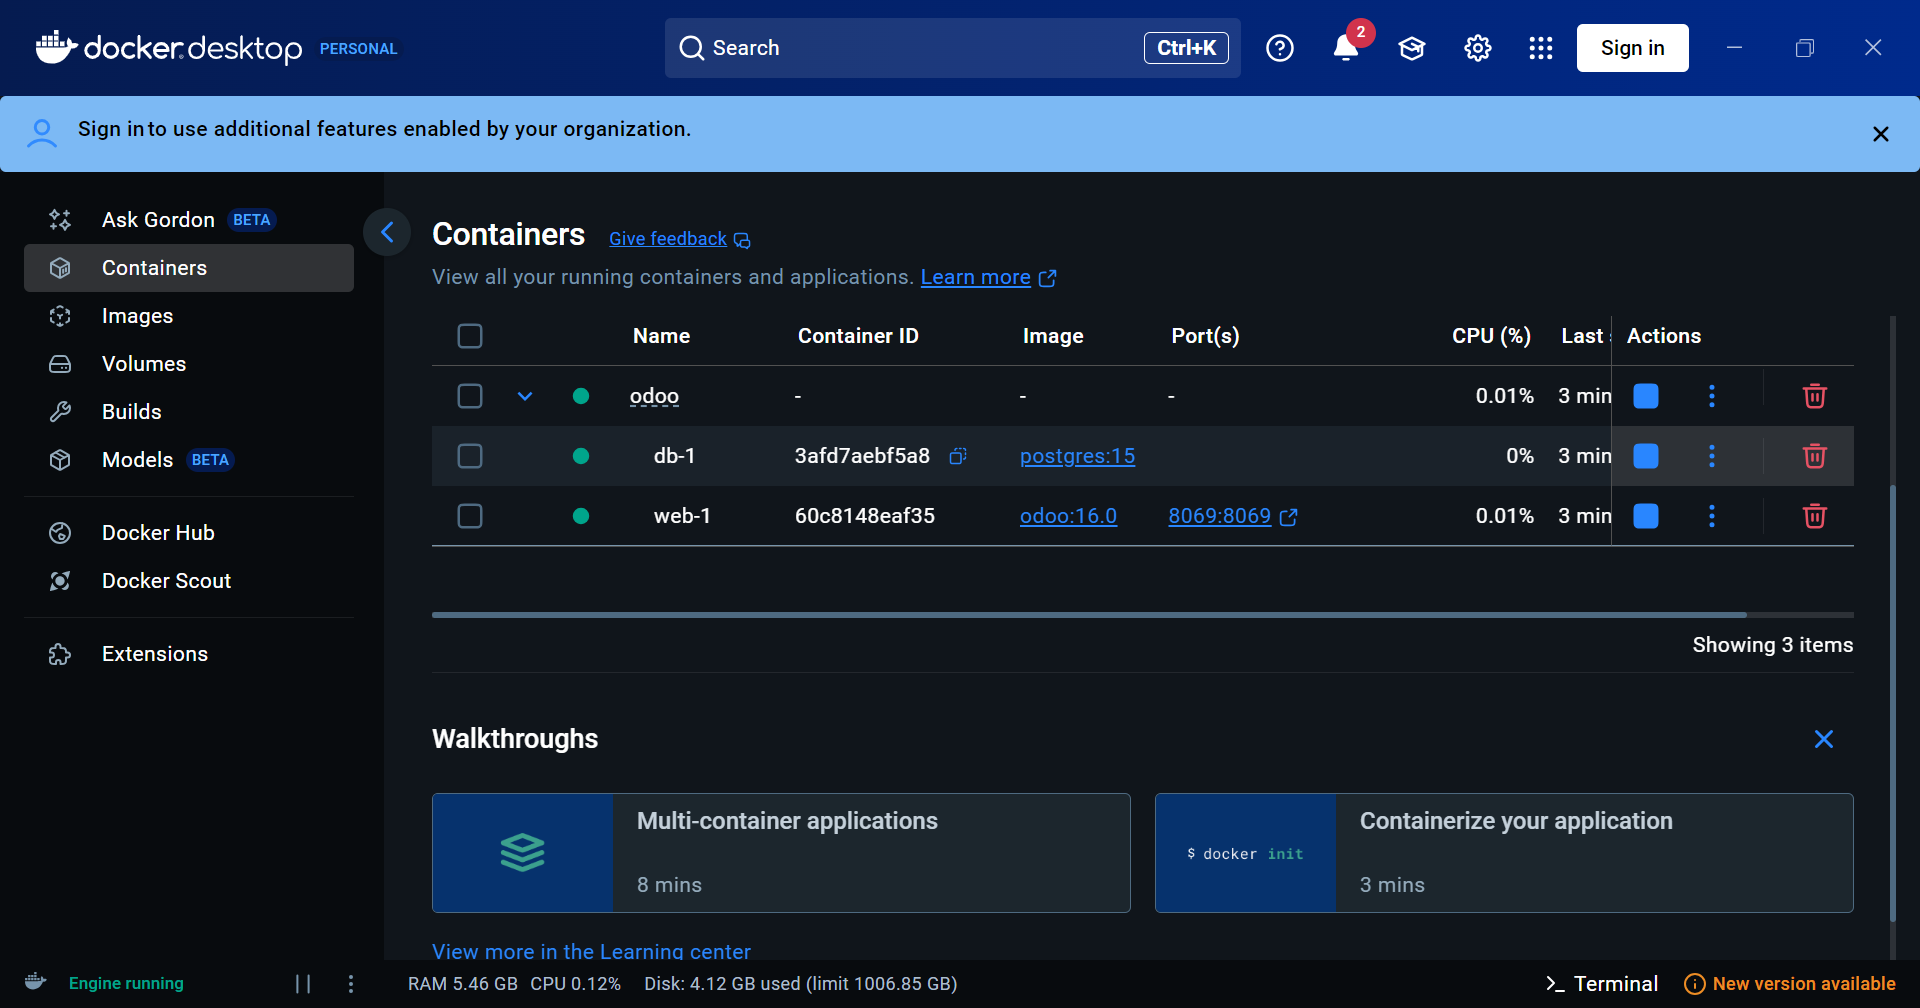
※ Containers can be started and stopped from Docker Desktop.
3. Download the OCA modules and save them in the folder mounted as /mnt/extra-addons (e.g. C:\Users\username\Odoo\addons)
① Download the OCA repositories you need from the GitHub links below and unpack the archives
https://github.com/OCA/l10n-japan/tree/16.0
(account_payment_term_cutoff_day, l10n_jp_account_report_registration_number, l10n_jp_address_layout, l10n_jp_country_state, l10n_jp_partner_title_qweb, l10n_jp_summary_invoice, report_alternative_layout)
https://github.com/OCA/partner-contact/tree/16.0
(base_country_state_translatable)
https://github.com/OCA/account-invoicing/tree/16.0
(account_billing)
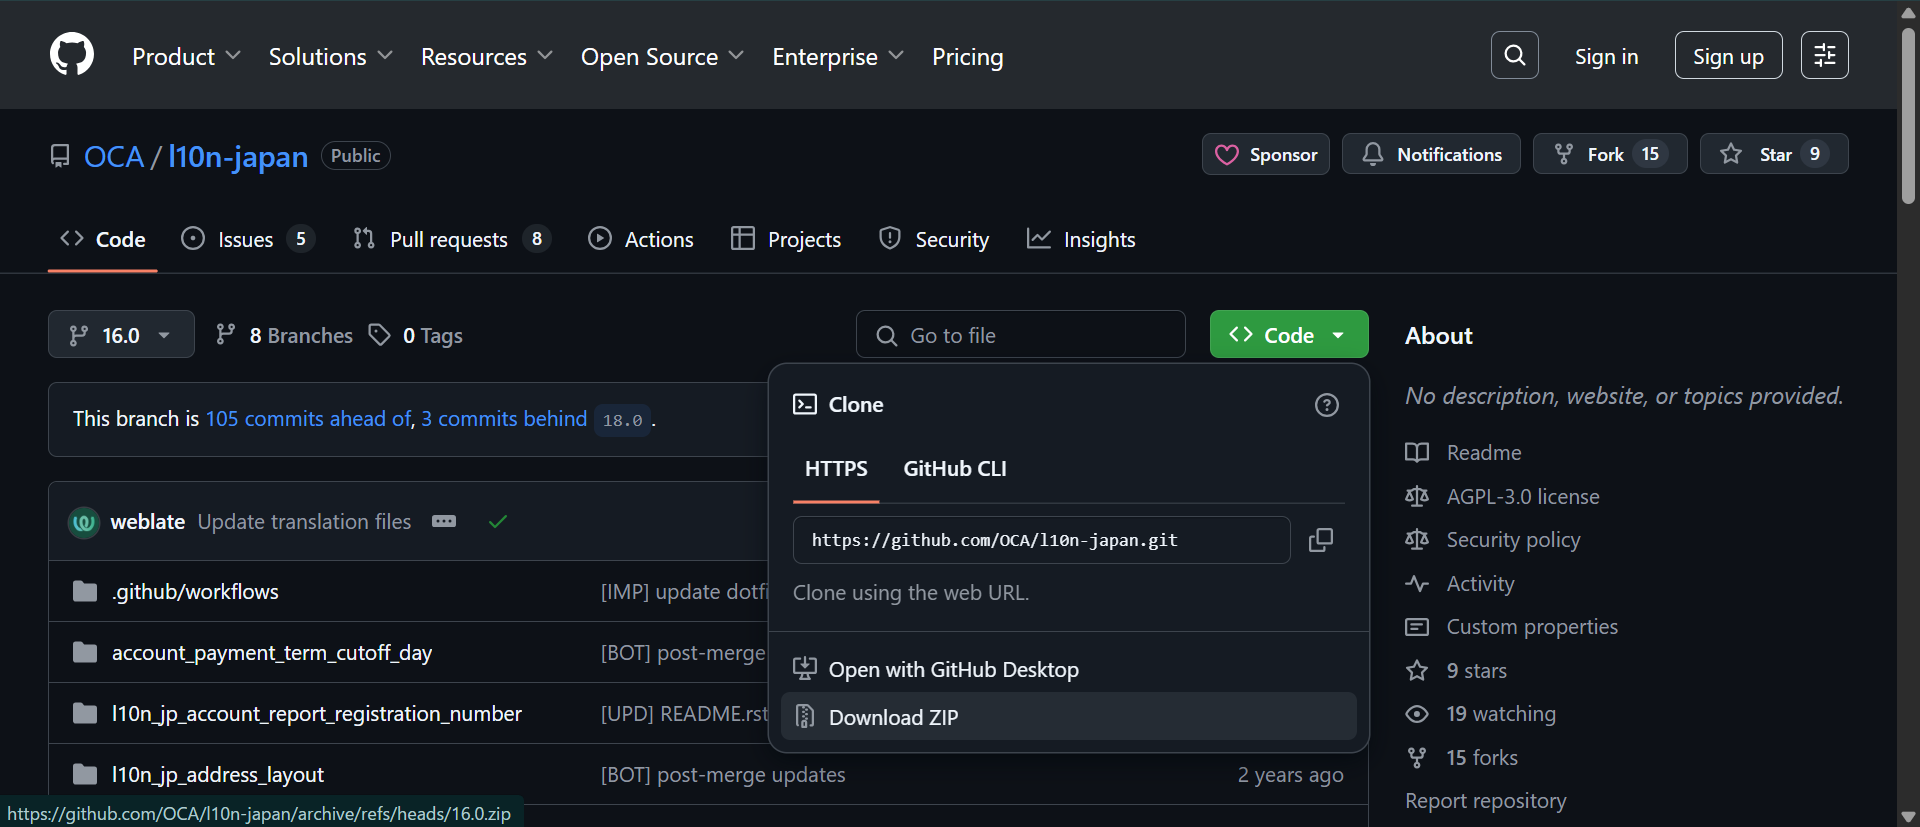
[The main OCA modules for Japan]
- Translate Country States: makes country, state and prefecture names translatable (needed to install Japan Country States)
- Japan Country States: adds the Japanese prefecture names
- Japan Account Report Registration Number: extends the external report layout to show the company's qualified invoice issuer registration number on invoices and receipts for domestic transactions
- Japan Address Layout: provides the data for switching the address layout on the contact form to the Japanese order (postal code → prefecture → city ...)
- Japan Partner Title QWeb: makes the adjustments needed for titles such as 「様」 and 「御中」 to appear with the partner name on several reports and website pages
- Report Alternative Layout: adjusts the existing external layout to put the partner's address on the left and your own company's on the right
- Account Payment Term Cutoff Day: extends payment terms so that a term with a cut-off day other than month-end can be defined (e.g. cut off on the 25th, paid on the 10th of the following month)
- Billing Process: groups invoices together (needed to install Japan Summary Invoice)
- Japan Summary Invoice: prints summary invoices. As a qualified invoice, a summary invoice recalculates consumption tax from the invoice total for each tax rate.
- Account Tax Rounding Method: makes the tax rounding method configurable. Per partner, you can choose half-up rounding (the default), rounding up or rounding down.
※ The Japan Partner Zip Address module, which fetches an address from a Japanese postal code, needs the Python package jaconv and so cannot be used in this Docker environment.
② Move the subfolders you need out of the unpacked folder into the folder mounted as /mnt/extra-addons (e.g. C:\Users\username\Odoo\addons)
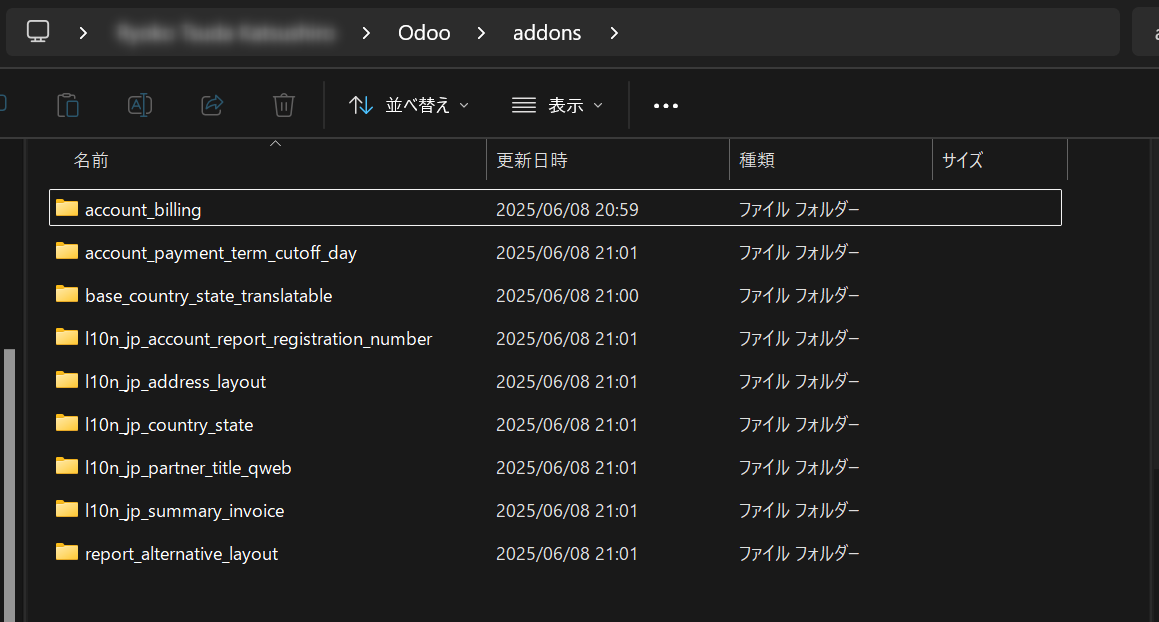
4. Install the apps and the OCA modules
① With the containers running, open a web browser, go to http://localhost:8069/ and create a database
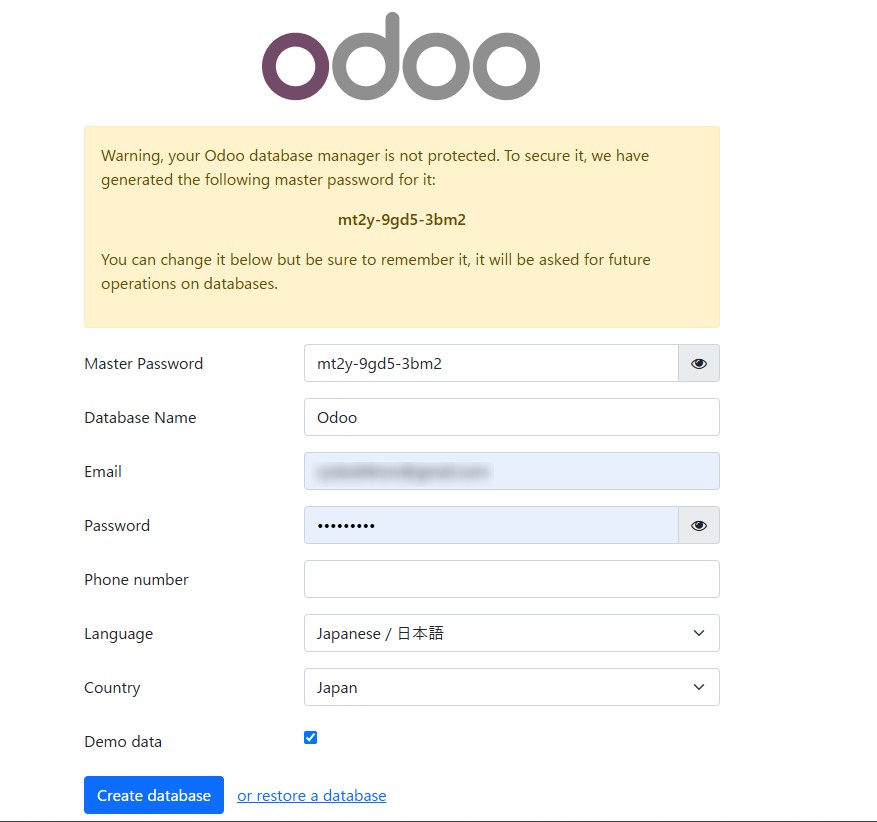
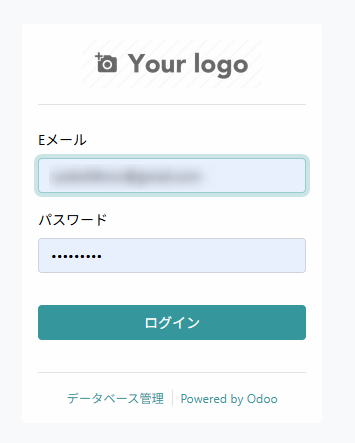
② Log in
③ To turn developer mode on, insert "?debug=1" or "?debug=true" after the ”....../web” part of the URL
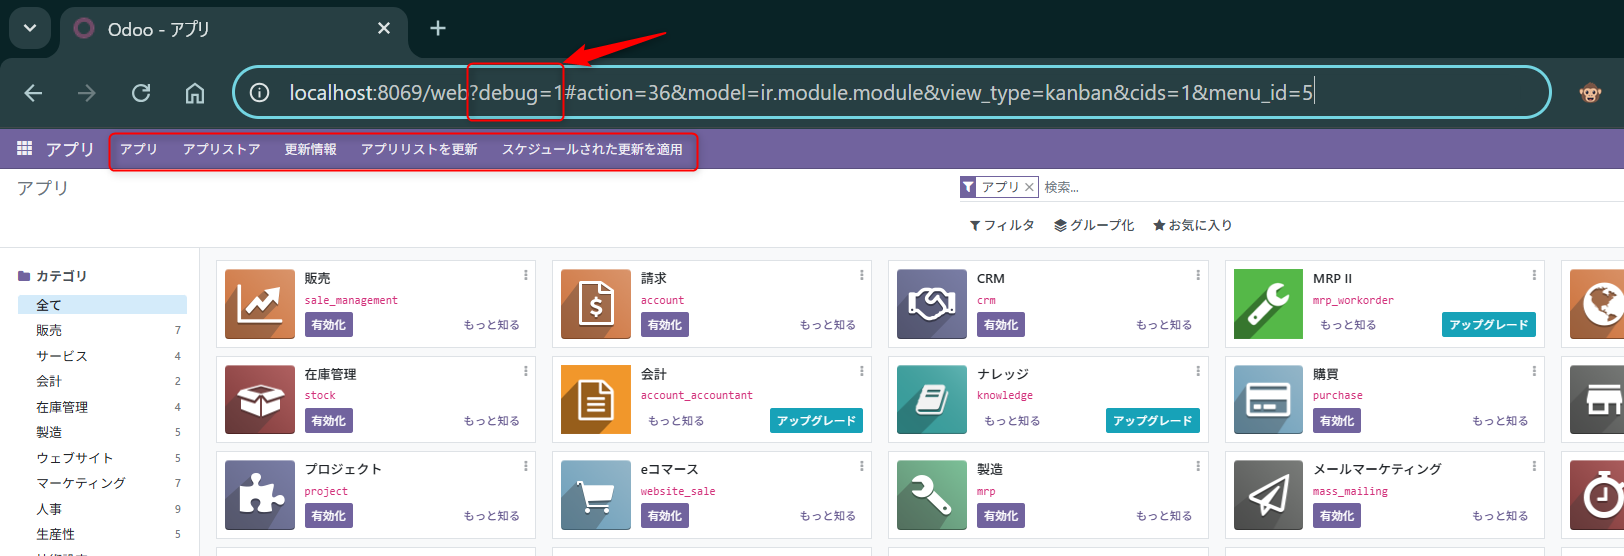
※ Once developer mode is on, the items shown in the menu bar change
④ Update the apps list
Click 「アプリリストを更新」 (Update Apps List) in the menu bar; a confirmation screen appears, so click 「更新」 (Update)

⑤ Install the OCA modules for Japan from Apps
On the Apps screen, type a search word such as "japan" or "Account Payment Term Cutoff Day" into the search field, and activate the modules you need from the results
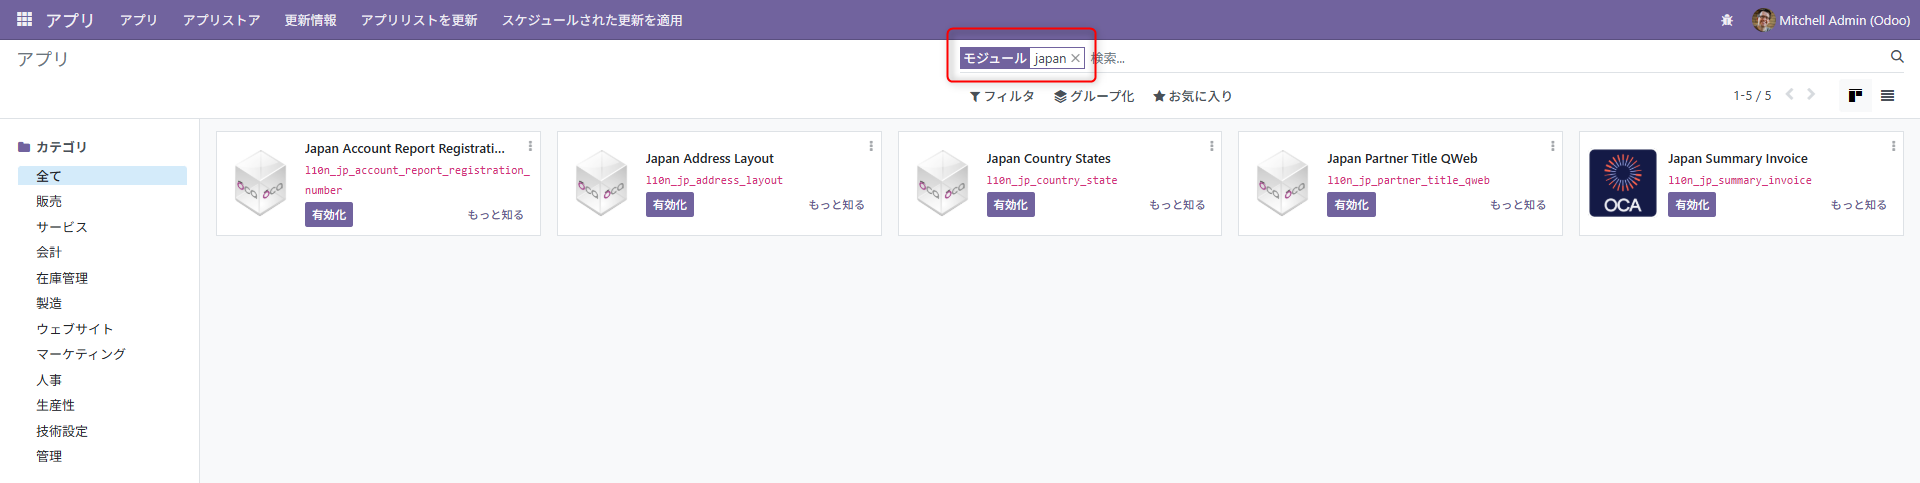
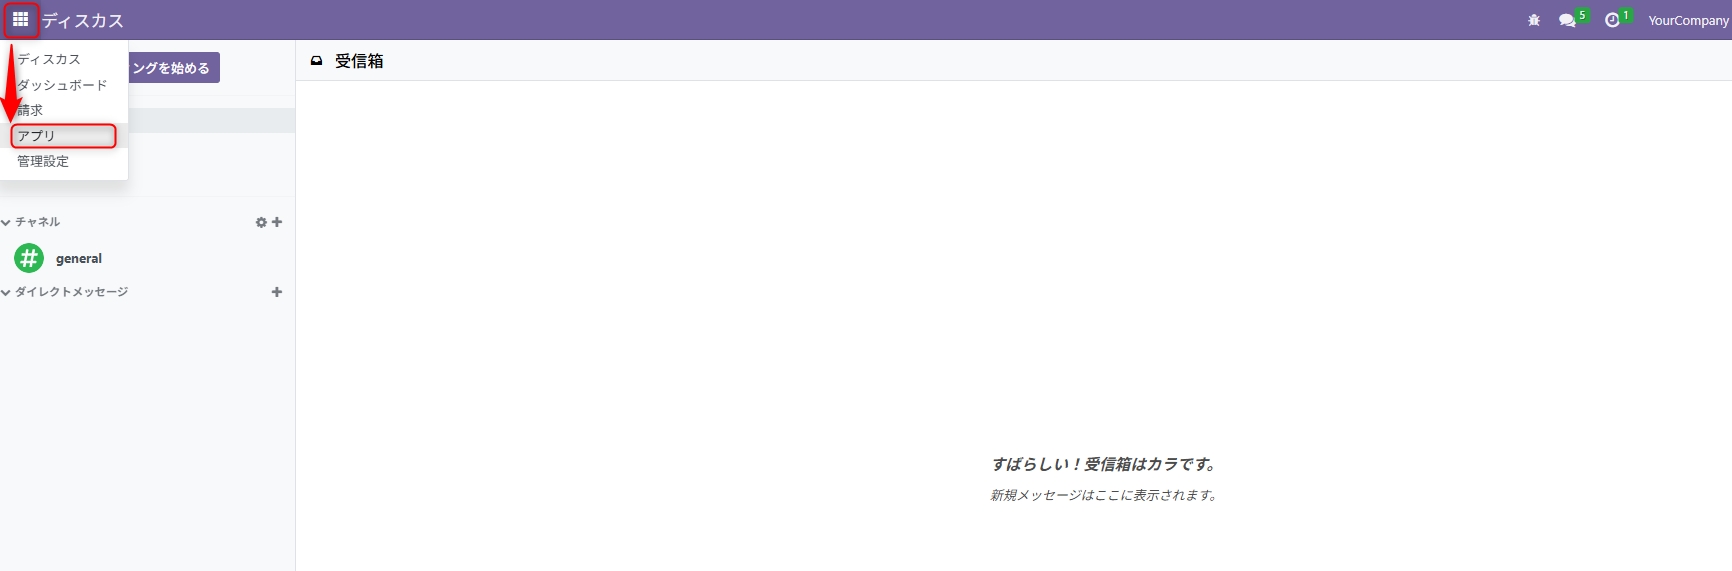
※ To open the 「アプリ」 (Apps) screen, click the square at the top left and select 「アプリ」
The posts below describe an older version, but the basics are the same, so please see these blog and forum posts for how Odoo is operated and how it is configured.
The basic common operations in Odoo V14.0
The basic configuration of Odoo V14.0
We post explanations of the OCA modules for Japan and more on YouTube. Please take a look.
How to set up an Odoo environment on a Windows PC, step by step